FIretight FUSE
Storage and installation instructions
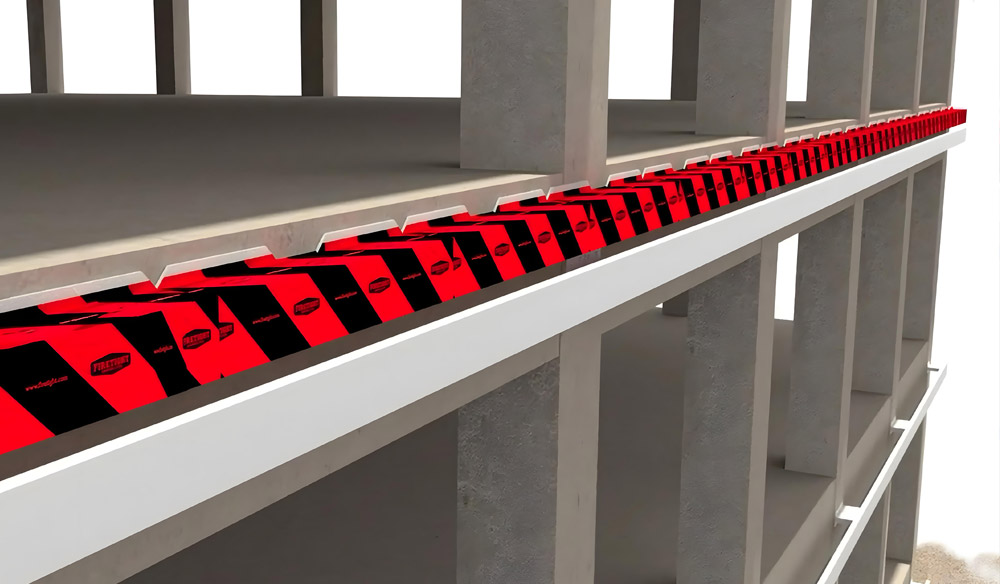
Installing the FIRETIGHT Fuse is quick and simple. Before a fire, the Fuse provides a ventilated façade, while during a fire, it immediately creates a reliable fire-resistant seal. No additional brackets or fasteners are required.
Follow the steps below for correct storage and installation.
Opslag- en installatie instructies
Het bevestigen van de FIRETIGHT Fuse is eenvoudig en snel. Voor een brand zorgt de Fuse voor een geventileerde gevel, terwijl bij brand direct een betrouwbare brandwerende afsluiting ontstaat. Extra beugels of bevestigingsmiddelen zijn niet nodig.
Volg onderstaande stappen voor een correcte opslag en installatie.
Storage instructions / Opslag instructies
Storage instructions FIRETIGHT FUSE (EN)
- Store dry and flat to prevent distortions.
- Avoid direct sunlight and extreme temperatures during storage
(NL) Opslag instructies
- Sla de kantplanken vlak en droog op om vervorming te voorkomen.
- Vermijd direct zonlicht en extreme temperaturen.

Installation instructions / installatie instructies
(EN) STEP 1: Placement of first fuse element
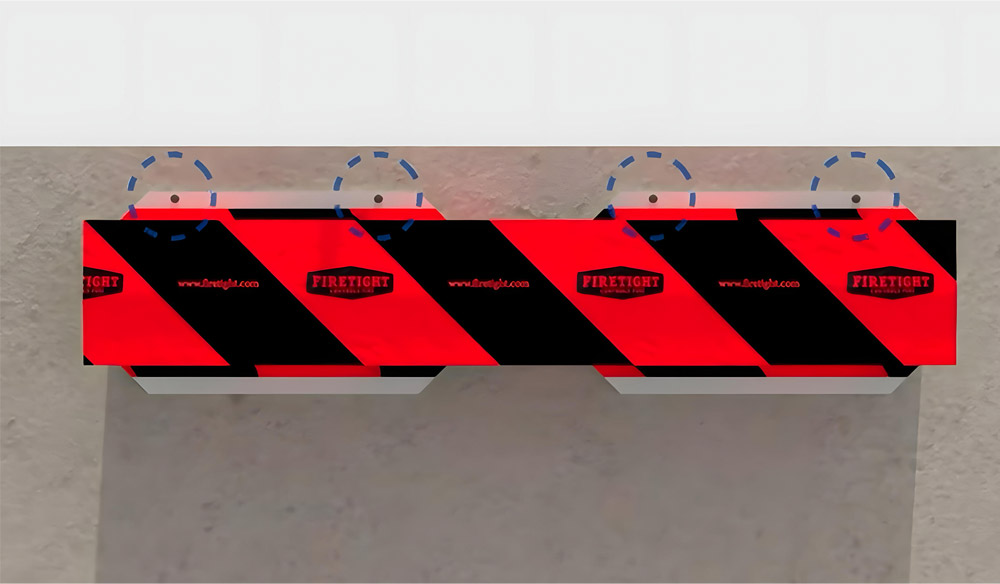
- Place the Fuse level at the desired location.
- Horizontal installation:
Secure the Fuse firmly at the top using the pre-drilled holes. - Vertical installation:
Secure the Fuse on both sides using the pre-drilled holes. - Ensure the Fuse fits tightly against the surface.
(NL) STAP 1: Plaatsing eerste FUSE element
- Plaats de Fuse waterpas op de gewenste locatie.
- Horizontale plaatsing:
Bevestig de Fuse stevig aan de bovenzijde. Gebruik hiervoor de voorgemonteerde gaten. - Verticale plaatsing,
Bevestig de Fuse aan beide zijkanten. Gebruik hiervoor de voorgemonteerde gaten. - Zorg ervoor dat de Fuse strak tegen de ondergrond zit.
(EN) STEP 2: Connecting the next Fuse elements
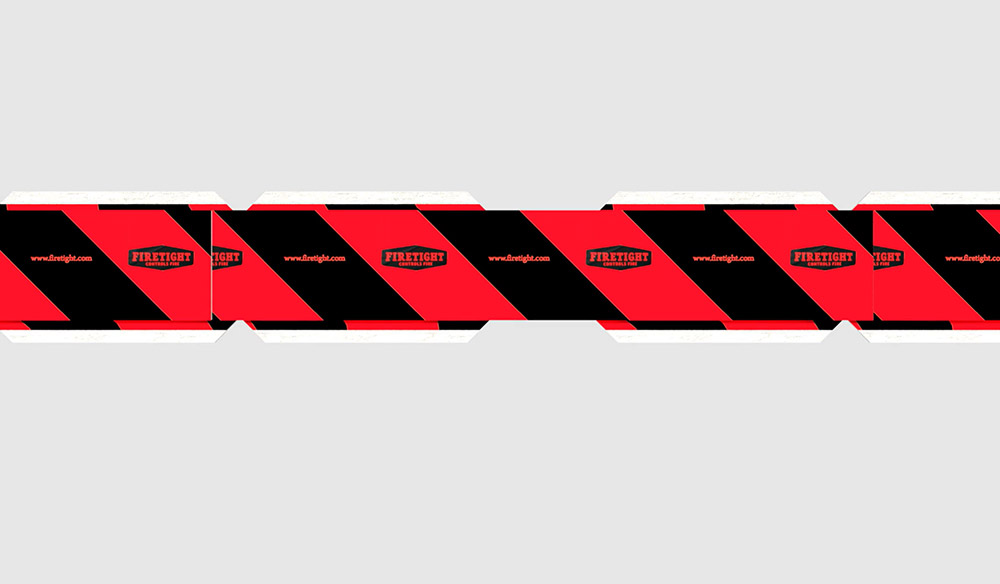
- Place the Fuse level at the desired location.
- Horizontal installation:
Secure the Fuse firmly at the top using the pre-drilled holes. - Vertical installation:
Secure the Fuse on both sides using the pre-drilled holes. - Ensure the Fuse fits tightly against the surface.
(NL) STAP 2: Aansluiting van de volgende Fuse elementen
- Plaats de Fuse waterpas op de gewenste locatie.
- Horizontale plaatsing:
Bevestig de Fuse stevig aan de bovenzijde. Gebruik hiervoor de voorgemonteerde gaten. - Verticale plaatsing,
Bevestig de Fuse aan beide zijkanten. Gebruik hiervoor de voorgemonteerde gaten. - Zorg ervoor dat de Fuse strak tegen de ondergrond zit.
(EN) OPTIONAL STEP 3: Cross Connection
-
For a cross connection:
-
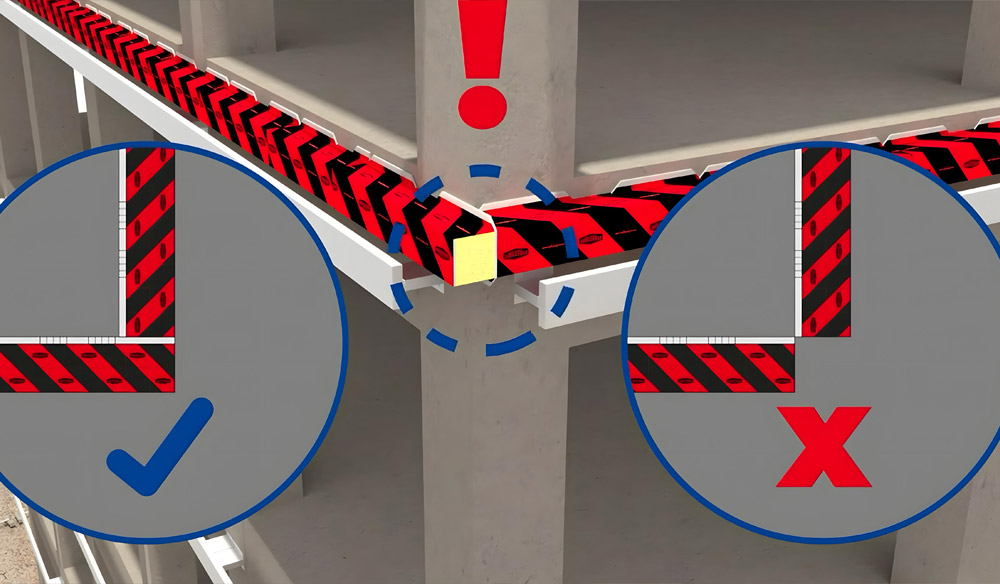
Slide the mounting plate of the vertical Fuse into the slot of the horizontal Fuse.
Note: No sealing with adhesive, tapes, or foams is required.
-
This creates a seamless and fire-resistant transition
(NL) OPTIONEEL STAP 3: Kruislingse verbinding
-
Bij een kruislingse verbinding:
-
Schuif de bevestigingsplaat van de verticale Fuse in de sparing van de horizontale Fuse.
Let op: Kitten of het gebruik van tapes of schuimen is niet nodig.
- Hierdoor ontstaat eenvoudig een naadloze en brandwerende overgang.
STEP 4b: Corner Finishing
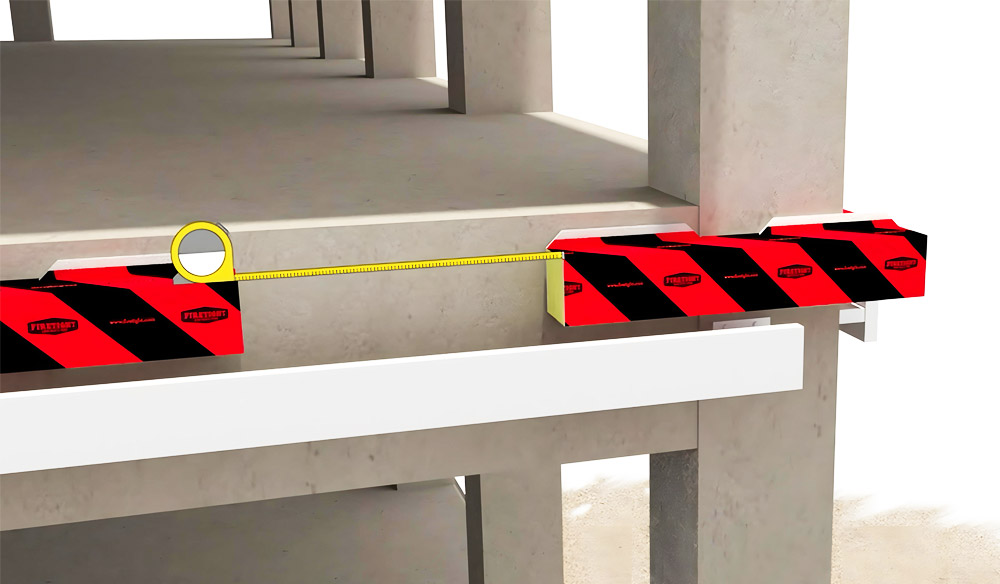
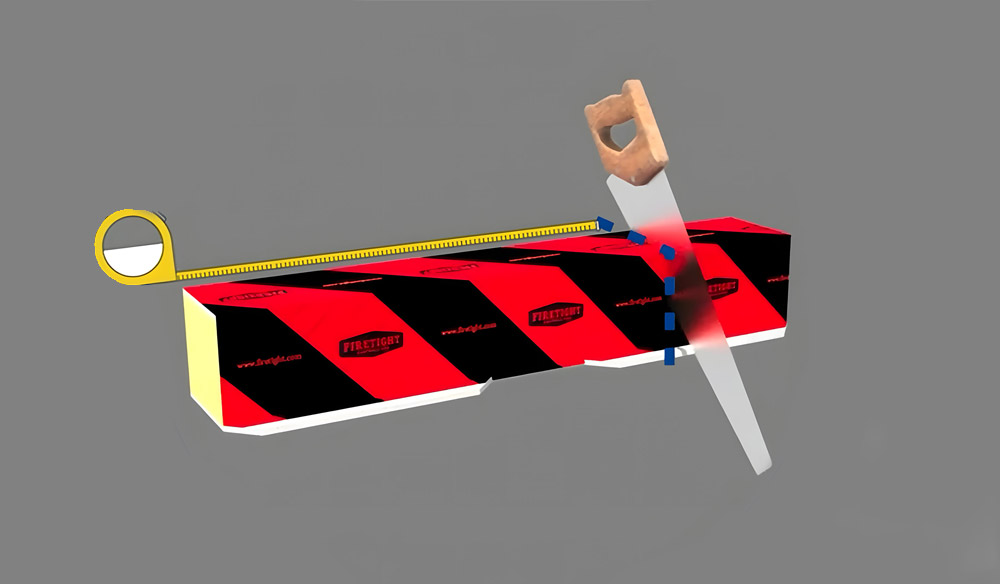
- Measure the distance for the second-to-last Fuse and cut it to size.
- Place this custom-cut block as the second-to-last element.
STAP 4b: Hoekafwerking
- Meet de afstand voor de een-na-laatste Fuse en zaag deze op maat.
- Plaats dit op maat gemaakte blok als een-na-laatste element.
STEP 5: Installing the Final Fuse ELEMENT
- Place this cut-to-size block as second last element.
- Finish with a full Fuse for a clean and secure installation.
Stap 5: Plaatsing van het laatste Fuse element
- Plaats dit op maat gemaakte blok als een-na-laatste element.
- Sluit af met een volledige Fuse voor een nette en veilige afwerking
CONTACT US FOR MORE INFO
Installing FIRETIGHT® is easy, but some situations ask for extra attention.
E-mail us or call us (during Dutch Business hours).
3125 BK SCHIEDAM THE NETHERLANDS
+31(0)10 – 30 20 200
INFO@FIRETIGHT.COM
3100 AC SCHIEDAM
THE NETHERLAND

